

Guides
How to Make an A0 Poster in Google Slides for Printing

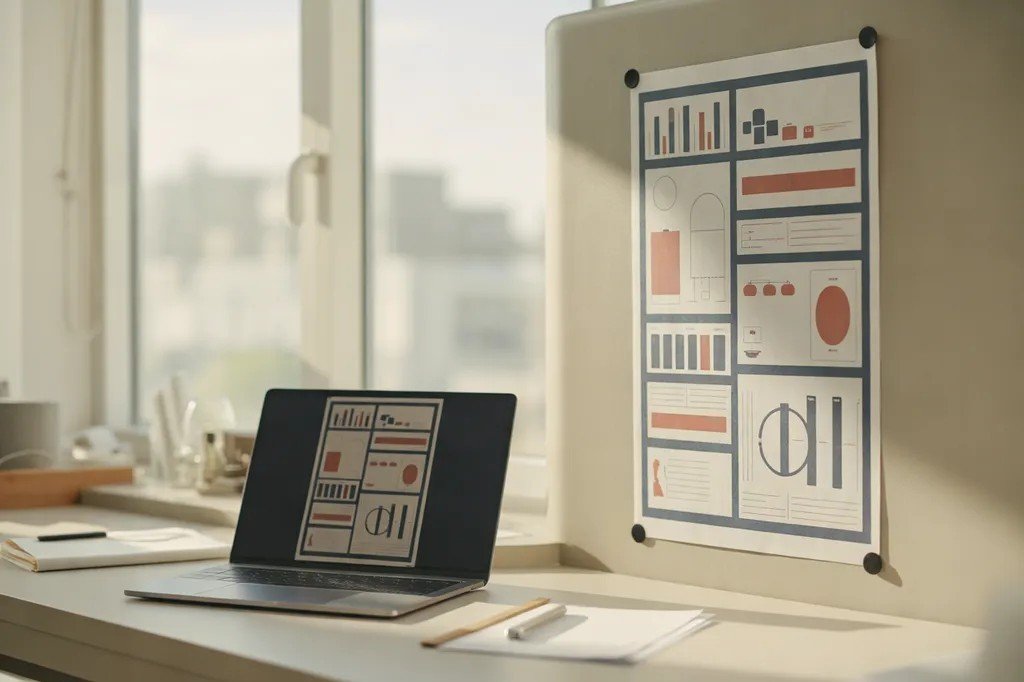
Quick answer: To make an A0 poster in Google Slides, open a blank presentation, go to File > Page setup > Custom, choose centimetres and enter 84.1 × 118.9 cm (portrait) before you add anything. Design the poster on a single slide, use a title of about 85–100pt and body text of at least 24pt, then go to File > Download > PDF document (.pdf) and send that PDF to print.
Google Slides is free, works in any browser and makes it easy to build a poster with your supervisor or co-authors at the same time. It is not a design program, but with the right page size and a few checks it produces a clean, print-ready A0 poster. This guide walks through each step, from setting the size to exporting the final PDF.
Step 1: Set the page size first
- Open Google Slides and start a Blank presentation.
- Go to File > Page setup.
- Open the drop-down menu and choose Custom.
- Change the unit to centimetres and enter the size from the table below.
- Select Apply (or OK).
| Poster size | Portrait (width × height) | Landscape (width × height) |
|---|---|---|
| A0 | 84.1 × 118.9 cm | 118.9 × 84.1 cm |
| A1 | 59.4 × 84.1 cm | 84.1 × 59.4 cm |
| A2 | 42 × 59.4 cm | 59.4 × 42 cm |
Do this before you add any text or images. If you change the page size later, your text boxes and pictures keep their old size and position, so the layout has to be rebuilt. Check whether your conference wants portrait or landscape in our UK conference poster sizes guide.
Step 2: Turn on the ruler and guides
Go to View > Show ruler, then View > Guides > Show guides. Drag guides in from the ruler to mark a margin of about 2 cm around the edge and to split the poster into columns. Two to four columns work well on A0. Keep important text inside the margins so nothing sits too close to the edge.
Step 3: Use text sizes that can be read from a distance
Because the page is set to the real poster size, the point sizes in Google Slides match the printed size. For an A0 poster:
- Title: about 85–100pt
- Section headings: 36–48pt
- Body text: at least 24pt, ideally 24–32pt
- Captions and references: 18–20pt
Use a clear font such as Arial, Roboto, Open Sans or Lato, and no more than two fonts. See our academic poster font size guide for A1 sizes and a quick way to check your text before printing.
Step 4: Add sharp images and charts
- Upload originals. Use Insert > Image > Upload from computer and add the original file, not a screenshot or an image copied from a web page.
- Keep charts sharp. Export graphs from Excel, R or Python as large PNG files, or rebuild simple charts in Slides so they stay crisp.
- Do not stretch small images. A small image enlarged to fill a big area will print blurry. Google limits each image to 25 megapixels, so very large background photos are best avoided.
- Check at full size. Zoom in to 200% on each image. If it looks blurry or pixelated on screen, it will look the same on paper.
Step 5: Check colours, backgrounds and extra slides
- Colours: screens are brighter than paper, so very bright or neon colours can print slightly duller. Dark text on a light background is the safest choice.
- Backgrounds: avoid busy photo backgrounds behind text. A plain or very light background keeps text easy to read.
- One slide only: delete any extra or hidden slides. Every slide becomes a page in the PDF, and the poster should be a single page.
Step 6: Download as a PDF
- Go to File > Download.
- Choose PDF document (.pdf).
- Open the PDF and check that it is one page at the right size, the fonts look correct and nothing has moved.
A PDF keeps your text sharp at any size, so it is the best file to send for printing. Avoid downloading the poster as a JPEG or PNG image, because text can lose sharpness.
Common Google Slides poster problems
| Problem | Cause | Fix |
|---|---|---|
| Poster prints with white bars | The slide is still 16:9, not A-size | Check File > Page setup shows 84.1 × 118.9 cm |
| PDF has more than one page | Extra or hidden slides in the file | Delete every slide except the poster |
| Text is too small on the print | Font sizes chosen on a small slide | Set the real size first, then use 24pt+ body text |
| Blurry photos or charts | Small images stretched to fit | Upload the original, larger files |
| Layout looks squashed | Page size changed after designing | Set the size first, or rebuild the layout at the new size |
Before you upload, run through our academic poster checklist. If you use other software, we also have guides for PowerPoint and Canva.
Ready to print?
Upload your Google Slides PDF to our A0 poster printing page. A0 posters start at £34.99 on 260gsm matte or satin paper, rolled in a protective tube. Delivery is free across the UK, and orders placed before 12PM (Monday to Friday) are printed the same day.
Frequently asked questions
Can you make an A0 poster in Google Slides?
Yes. Go to File > Page setup, choose Custom and enter 84.1 × 118.9 cm for portrait A0. Design the poster on one slide and download it as a PDF.
What is the A0 size in Google Slides?
A0 is 84.1 × 118.9 cm in portrait or 118.9 × 84.1 cm in landscape. In inches, that is about 33.1 × 46.8 inches.
How do I export a Google Slides poster for printing?
Go to File > Download > PDF document (.pdf). Check that the PDF is a single page at the right size before you upload it.
What font size should I use for a Google Slides poster?
On an A0 poster, use a title of about 85–100pt, headings of 36–48pt and body text of at least 24pt. This works because the page is set to the real poster size.
Why is my Google Slides poster blurry when printed?
Usually because small images or screenshots were stretched to fill a large space. Upload the original, larger image files and check each one at 200% zoom before you export.
